Saturday, May 16, 2015

Irish Chain Scrap Quilt Complete!

My Last Assigned Project is quilted!


Again, it is taken from the side due to the table in front of my design board, but...
HERE IT IS!

I picked an Intermediate Pantograph, had my LQS load the quilt and I came in and spent 2 hrs. quilting on the long arm machine this AM. Can't believe how fast this can be done on a long arm! Feels like cheating. lol.  I spent many more hours piecing it.  And then, poof, 2 hrs. and it is quilted.  Another 1.5 hrs. and the binding will be on and the quilt can be used!

This was my favorite quilt to piece, as I fell in love with the challenge of picking scrap fabrics and finding just the right placement. I'm happy with the way it turned out.

There is always something new to learn on machine quilting though, and this time, I accidentally went back the wrong way when lines crossed, and duplicated a small section.
Do you see it?  I will need to do a bit of thread picking, again. lol.

Although I didn't finish the course by my goal date of May 1 (which was picked because of how busy May gets for us) I AM finished before my guests arrive for the High School Graduation next Saturday.  So, I feel like I'm going to consider this a success anyway!


Thursday, May 14, 2015

The Quilting of the Irish Chain Baby Quilt


This is the first Irish Chain quilt we made, this one being a baby quilt.  I added 4 borders and considered it adaptable to boy or girl.  I found an expectant recipient, a girl baby, so used the pink binding, and a pink flannel backing. This is the first one I've washed and dried, and I like the antique look of the shrinkage.

Because I had a "free" valet service left on my Rental Card, I took this in on Monday afternoon and picked out the thread and pantograph to use. On Wednesday Morning, I walked into the store at 9:00 AM and there it was completely and perfectly loaded on a new long arm machine!  My local quilt shop now has 3 new models of Long Arms, including GEORGE!  George is the machine I've been entering EVERY day to win!

I've been using an APQS Millie machine.  They had swapped out one of the Millie's for a Lucy, a less computerized machine, but same size.  I liked the idea of less is more, but it sure made a lot of clunking noise!  I chose a heart design, thinking it would be nice for baby quilt.  It was a bit more of a challenge than others, because of the many tight curves and "V" angles, but I think I did well!   Becky who loaded the machine was impressed with how nicely the patchwork was pieced!  She has followed my journey from the start of my quilting at the shop.  It's nice to see progress! And, the quilting came out beautiful for the quilt!

As always, there is something to learn.  This time, the quilt was loaded a bit low. Or, the pantograph was loaded low. Either way, I had a bit more gap at the top than usual.  They have told me that I can come back to the top at the end and fill in the open space, but I have never felt that the space needed it.  I didn't even give it a thought when I finished.  I took it off the machine and hurried home to put it on my design board to examine, and measure for binding.  Well, after studying it off and on for a couple hours, I decided I just couldn't live with it that way.

I brought it back into the quilt store and asked if I could use the pantograph and draw the missing parts on and use GEORGE to free motion quilt it :)  I REALLY wanted an opportunity to try out this machine, as I have set my heart on owning one some day. hehe.  Well,  winning one in June, actually. lol.

Although I did not finish quilting all the tops by my goal of May 1, I am REALLY close. I have the borders attached on the second Irish Chain (scrap) quilt  and have also been working on the Final Exam!  Woo Hoo,  Even though I am ready to go with the quilting of the last project top, I don't think I can finish before the graduation guests arrive.  I will soon be breaking down the Quilting Room, in exchange for the Guest Room.  But, I DO know that while Mom is here, I WILL be getting her help on the Dreadful Mitered Table Runner!  :)


Friday, May 1, 2015

Carrie's Country Lane Mitered Table Runner Update


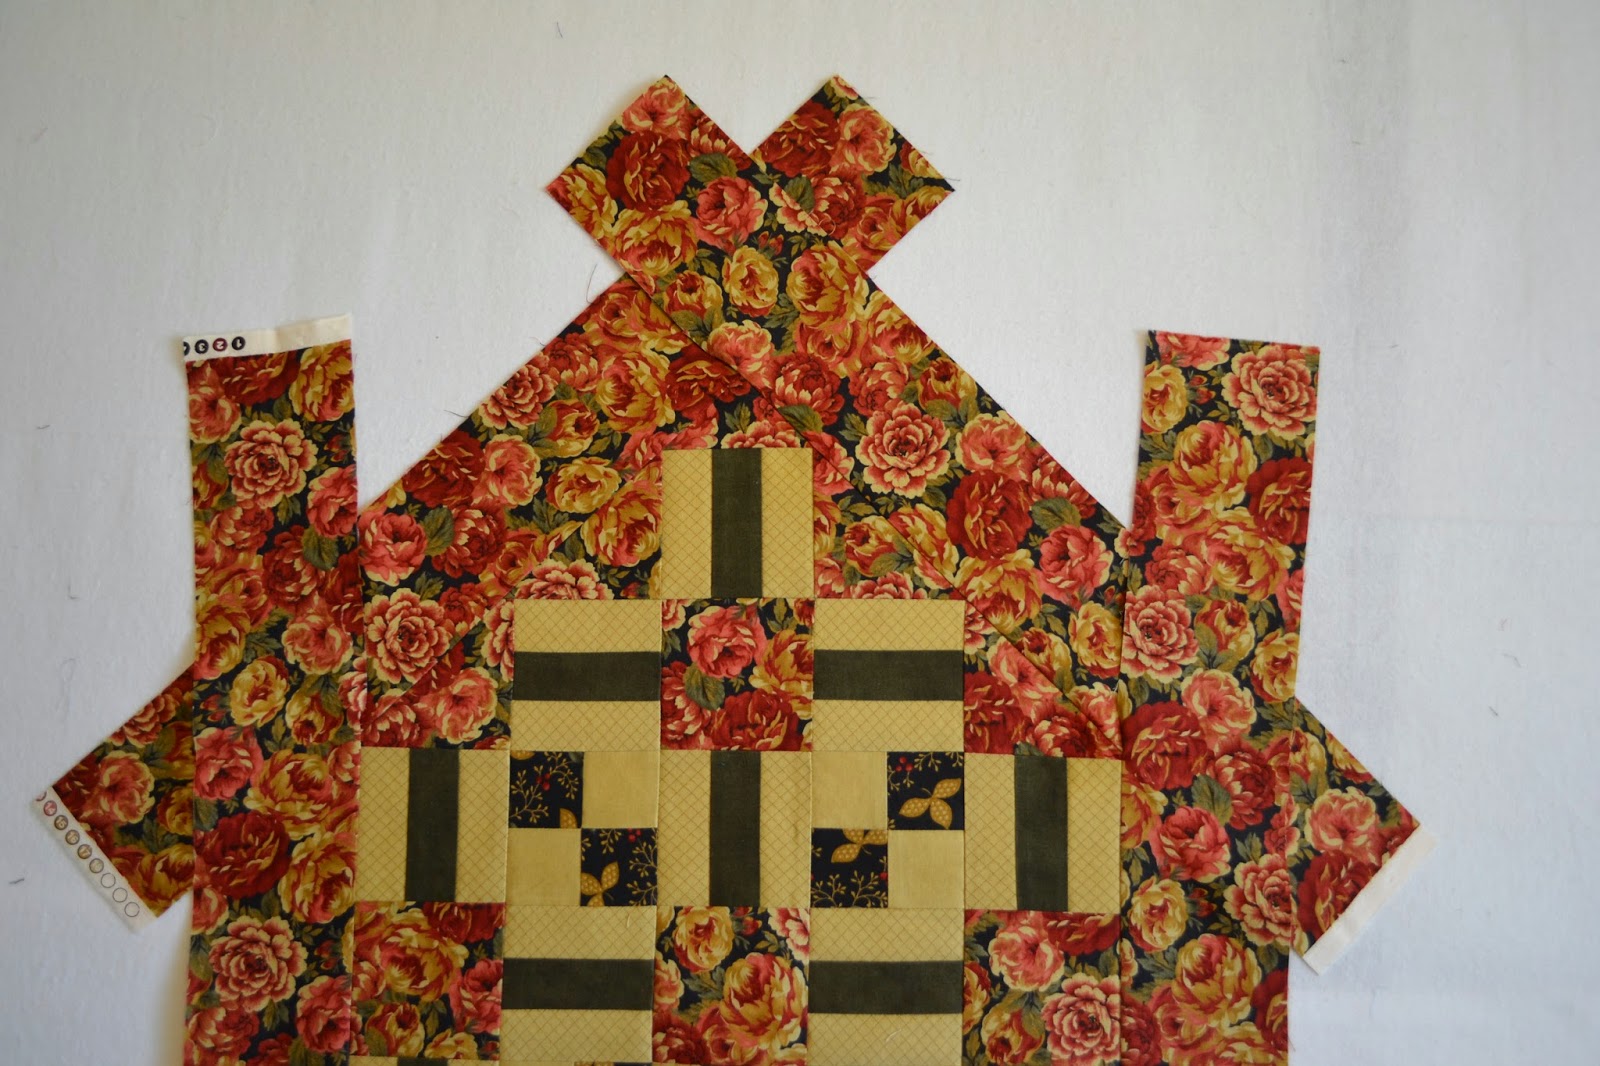
This is the dreaded project I have been putting off.  But, after finishing the last table runner, and seeing it on my table, I decided I'd attempt this one.

This runner has 6 sides.  It was a project of frustration to figure out how to make the pointy ends in the first place.  I have cut the borders as stated in the directions.  Lots of extra on the ends. And, I think if I can complete it, it would look nice!  HOWEVER.... The instructions for the border is as bad as the instructions were for the pointy ends.

These instructions are for nice 90 degree angles.  
DO YOU SEE any 90 degree angles in my actual project?       No :(

I went to YouTube, and searched for any examples of how to do this. I only found nice square or rectangle examples of mitered borders. 

So, I decided to brave it, and attempt to follow the instructions. 
Under normal square conditions, you would leave the border as such. I sewed up to the 1/4" at both ends, and of course, I can't unfold my straight long edge. LOL. 
Seem ripper to the rescue.  Attempt #1 Fail.
So, I press my long edges out.  Easy sides done. LOL.
Now, I sew the 2 short edges on, and press out, leaving the 1/4" and back stitch seams as directed.  
Now what?  If I fold a 90 degree angle, as the book suggests, this is the only way to do that.  I am folding the top border under, while the bottom has no where to go.  I pinned them together here. But, even if I use "glue" as stated in the instructions instead of pins, HOW DO I SEW THIS?  there is no under side to sew so that I dont have a seam running down the face of this.  Fail #2

And, how about the pointy end?  Does this look like a 90 degree angle?  Fail #3, YOU'RE OUT!

I Have confirmed that THIS PROJECT does NOT belong in Year One.  

It is going back in the drawer for another year. LOL. 
And, I am not going to have it in the back of my mind that I need to finish it.  Don't bother with this project. Save yourself the frustration.  Move on.  Don't go here. The End of the story for Mitered table runner. 

Sunday, April 26, 2015

Inlaid Table Runner Project Quilted!

I still haven't tackled the Mitered border table runner, but this one I finished up this week.


I have a semi large table. But the pattern for this and the other table runner make my table seem very small.  I decided to take the extra squares and make place mats.  But, when I went to make the borders, I found that it would still make this WAY TO WIDE.  I put just one small border on the table runner, and no borders on the place mats.

I used one of the patterns from my quilt samples, and quilted at home on my machine! lol. This is the first one to tackle on my own machine, as I have been renting the long arm machines at the quilt shop.

I marked with a green pencil marker.

And, did the place mats first, gaining momentum and encouragement. I quilted first through the center going both directions.  I used my tack gun and didn't have any trouble with puckering.

So, I moved on to the table runner.  I feel like this is as big as I would like to manage under the small throat space of my machine.  It worked fine, And, I marked just like the smaller place mats and quilted the same way.

When I attached the binding, I cut it a bit smaller, figuring a 1 1/4" would be plenty. However, I didn't account for that 1/4" very well.  First, it made a big difference when attaching the strips together.  This allows for only 1/8" seam allowance, and , well, have you tried to get diagonals to go straight with only 1/8"??  The worst part was when I sewed them onto the place mats, I didn't remember 1/8", but used the usual 1/4" and this is what happened.

Can you even see the edge of the binding?  ha. very little.  No way was it going to wrap around the sandwich and let me sew to the back.  I got out my familiar seam ripper, and had to remove all three bindings from placemats!  Luckily, I hadn't done the table runner yet.

Lesson learned?  Use the guides in the book! Adjust the seam allowance when you adjust the size of the binding strips!

I'm so happy to have finished this project. I had started it back in the Spring of prior, thinking these fabrics would be happy spring/summer colors.  THIS spring/summer it will be on my table!


Friday, February 27, 2015

Double Nine Patch Quilted and Finished

Another  project finished this week!  I'm on a roll and I can see the end of Freshman Year is getting close.

This project was a bit larger than previous projects. It ended up 60x60 with the borders, a true throw size quilt.  Previous projects were more of wall hanging size, or samplers.

I bought some backing fabric when I saw it on sale a while back at Joanne's. It was a green Paisley, and I thought it would be perfect for this quilt top, but as I pulled it out to use I realized it wasn't enough. I didn't have the measurements yet when I bought it, as I hadn't put the borders on.  I went back this week and the green was still there, but not on sale. I found a black "backing" fabric which is 108" and thought that would work real nice because I wouldn't have to make a seam to get to 60" on the bottom. There was only 61" left on the bolt and in the moment, I thought "YES, Just enough!"  Now, that would have been perfect if I was basting to quilt, but on a long arm I need at least 3" on each edge.  I spent way too much time trying to figure out how to make the outside edges cut straight with SO much fabric!  I could NOT figure out how to fold it that many times to get a good cut. And, do I add just a small panel on the edge? No, because if I ended up having that quilted onto the pieced top, it would look funny.  I've done that with the top and bottoms of several quilts.  In order to be able to attach the backing onto the zippered leader clothes, I sometimes need to add a strip across the top and bottom just for space.

Then, I had the "Ah, Ha" moment while doing dishes. .  .   Rip the fabric down the center!  Harriet has us rip fabric along the grain to find the straight edge.  Why not rip it down the center and add a middle panel?  YES!  And, I have just the fabric to use.. the green paisley!


By ripping it, I have a straight edge to work with, and I was able to cut my 10" strip of green easy 
enough. This is the first time I've had to piece my backing fabric. And, I'm now debating what color thread I'm going to use for quilting because black on the back would be nice, but green is the preferred top color, and I know I can't put two contrasting colors together or I have a hard time with getting the tension exact so the wrong color doesn't show up.

Making the backing was the biggest hurdle with this quilt!

I was going to try a different batting this time too. I've been using Mountain Mist 100% cotton from Joanne's. But, I thought a thicker poly blend might be nice to try.  The quilt store was all out! I'm really glad I threw the batting in the car just in case.

Again, I chose a pantograph to use and I decided to use green thread on both top and bobbin.  My quilting is good enough now that although the quilting will show up boldly on the back, I won't be embarrassed :)
Here it is finished:


And, this is the back!

And, here is the close up of the pattern I used.

I think there is improvement with all the practice I've been getting.

So, another project finished. That leaves 2 more quilts and 2 table runners remaining.


Saturday, February 21, 2015

Harriet's Town Square Quilted

Another project competed!


With this project, I finally felt comfortable with the entire process.

  • I was able to get the borders measured and straight no problem.
  • I got my angles correct for the binding without any seam ripping.
  • The Long Arm Quilting Machine didn't give me any fits with tension, and I was easily able to   find a pantograph that fit the proportions fine.  I was actually able to find the same fabric used   for the inside border still at the fabric store, so I was able to use it for the backing.  That made   choosing thread color for top and bottom easy... they were the same :)  It is much easier to pick the same or near same color thread for top and bottom so that tension is easier to adjust without noticing the wrong color on the other side.
  • I was also able to come straight home and cut the edges and attach binding in the same evening!


Here is a close up of the quilting.  I felt comfortable with the stitches, and how well I'm able to get them to be continuously fluid. Its a big improvement from my first quilt.

As much as I appreciate not having to baste the quilt, and force it to go through my small machine, I'm having trouble with taking my time to do any free motion at the rental machine.  Pantographs are faster and easier on the long arm frame system, unless you were to have one at home where you can stop and start easily enough.  My dream would be to have a long arm at a sit down table, APQS: George, or HQ: Sweet Sixteen are the two I dream about when I think about browsing Craig's List and forums :)  First step is to find one to see, touch and try!  If anyone out there reading this has any experience with either of these machines please leave me a comment and let me know what I should be aware of, consider, and how you like yours after years of use!

This week, I also opened up the book to the "Final Exam".  Since I am getting close, I thought it would be nice to at least start working on it.  It is simply a picture of a quilt that we must figure out how to replicate!
First step was to choose a size and figure yardage.  I'm glad I'm starting now!

I've got my borders done for Harriet's Double Nine Patch, and I picked up the backing fabric when I was out this week, so when I was at the quilt shop yesterday quilting, I went ahead and made my next appt. for Wednesday this coming week.  It is sure nice to be able to finish all these project tops.  I will have used up all my rental hours on my first 10 hr. card with my next quilt.  That leaves 2 quilts and 2 table runners remaining. I'm hoping to gain the courage to work my home machine for the table runners. LOL.  But, I'm saving them for last.  Still having anxiety over the mitered borders for that runner!


Saturday, February 7, 2015

Interlacing Circles project complete

Next quilt finished!

I was planning on getting it done last week, but I had a surprise visitor!  As most know, my quilting room is also my guest room, so I took it all down and stored all the tables against the wall in our family room and set up the  air mattress guest room :)
It was fun week spending time with my sister and was an easy reassemble when she left this morning.
I had everything put back together before noon, and at 8pm I can show you my finished quilt!

Last week I brought my sister along to the quilt store while I used the long arm machine to quilt this. We picked out a pantograph called Flower Power.  It was labeled "Advanced" because it had a lot of tight curves.  I was only planning on an hour rental, but this took 2 hours, but I think it was the right design for this retro colored quilt.

Today, I was able to cut the edges straight, make the binding, sew it on, and finish by hand.
Another crossed off the list!  I'm getting closer to that Final Exam :)